
Planting
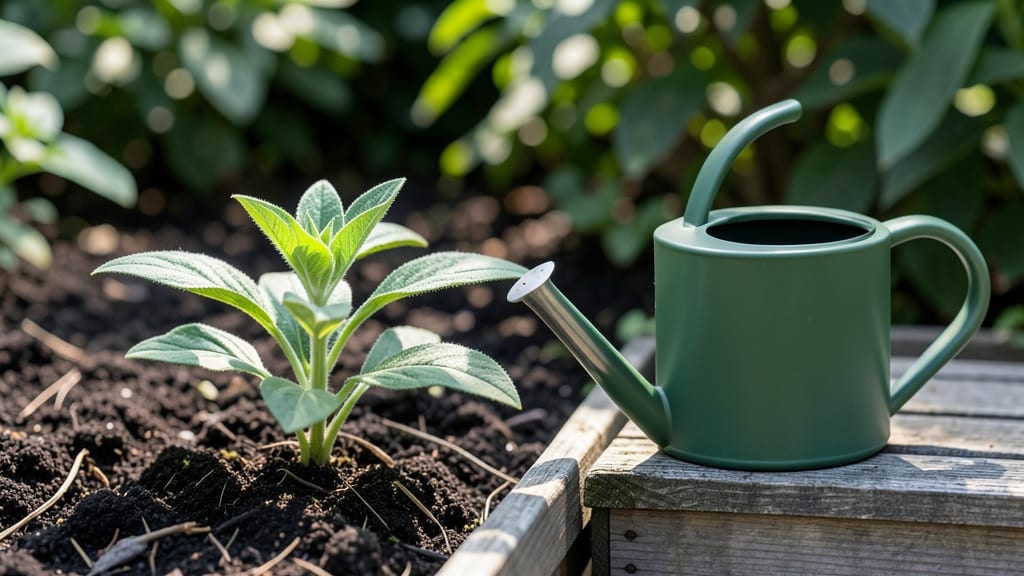
Learn how to plant a flower bed for beginners—it’s just dirt, plants, and a little patience, so don’t let the process feel overwhelming. I still remember my first attempt: I dug holes too close together, used garden soil straight from the bag, and watered like it was a desert.
The result? A sad, crowded mess that took three years to recover. But here’s the good news: you’ll skip all that trial-and-error with these six simple stages that actually work.
The secret isn’t fancy tools or rare plants—it’s prepping the soil right and choosing flowers that thrive together. Most beginners grab whatever’s on sale, but the right mix of sun-loving annuals (like marigolds or zinnias) and perennials (like coneflowers or black-eyed Susans) means less dead space and more blooms.
Even a small bed (3 feet by 6 feet) can look stunning with the right spacing—think of it like a puzzle where each plant fills its own spot without fighting for room.
By the time you’re done, you’ll have a bed that stays lush and low-maintenance for years. The first summer will be the easiest—just water consistently (about 1 inch per week) and pull a few weeds.
The real magic happens in year two when perennials return, and by year three, you’ll wonder why you ever bought flowers from the store. Let’s turn that blank space into something that makes your neighbors stop and stare.
No fancy tools required—just a shovel, gloves, and a 30-minute weekend. We’ll tackle soil prep, plant placement, and watering like a pro, even if your green thumb is still learning.
The best part? You’ll end up with a bed that looks intentional, not like a science experiment gone wrong. Ready to dig in?
📚 In This Guide
- What you need
- Instructions
- Tips and common mistakes
- Wrapping up and next steps
What you need
- ● Garden gloves (1 pair) – Protect your hands from thorns, dirt, and blisters. Look for breathable, durable options with a snug fit.
- ● Shovel or spade (1 medium-sized, ~12-18 inches long) – For digging and turning soil. A round-point shovel works best for most flower beds.
- ● Garden fork (1) – Helps loosen compacted soil and break up roots. Opt for a heavy-duty, 8-12 inch model.
- ● Garden rake (1) – A bow rake (for leveling soil) or hand rake (for finer details) will do the trick.
- ● Wheelbarrow or bucket (1) – For hauling soil, mulch, or debris. A 5-gallon bucket is perfect for small beds; a 2-3 cubic foot wheelbarrow works for larger areas.
- ● Measuring tape (1) – To mark out your flower bed dimensions accurately.
- ● String or garden twine (1 small spool) – Helps outline your bed before digging.
- ○ Stakes or spray paint – For marking edges (optional but helpful for straight lines).
- ● Native topsoil or garden soil (quantity depends on bed size; ~1 cubic yard per 100 sq. ft.) – Check your soil’s drainage by doing a simple drip test.
- ● Compost or organic matter (1-2 bags or ~2-3 inches spread evenly) – Boosts soil fertility. Look for well-aged compost to avoid weeds.
- ● Mulch (1 bag or ~2-3 inches depth) – Retains moisture and suppresses weeds. Shredded bark or pine straw are great choices.
- ● Flower seedlings or bulbs (quantity based on spacing needs; check plant tags for guidelines). Start with 3-5 types for variety!
- ○ Plant labels (optional but handy) – Use wooden stakes or plastic tags to track what you’ve planted.
- ● Watering can or hose with nozzle – A 1-2 gallon watering can works for small beds; a soaker hose saves time for larger areas.
- ● Knee pads – Save your joints during long digging sessions!
- ● Pruners – For trimming dead foliage or overgrown plants.
- ● Soil test kit – Check pH and nutrient levels before planting.
- ● Edging tools – Creates clean borders with metal, plastic, or stone options.
Simple steps to create a beginner-friendly flower bed
Here's how to transform a blank space into a thriving garden—no experience needed.
Choose and Mark Your Flower Bed Location
Pick a spot that gets at least 6 hours of sunlight daily for most flowers. Avoid low-lying areas where water pools after rain. Use a garden hose or spray paint to mark a 4-foot by 4-foot square (adjust size as needed) to visualize your bed shape. This helps prevent overplanting and keeps maintenance manageable.
I like to sketch a rough design first—note where taller plants (like delphiniums) will go at the back and shorter ones (like marigolds) near the front. This ensures everything gets the light and airflow it needs. Press a stick into each corner to create a physical guide for digging.
Remove Grass and Loosen the Soil
Use a sharp spade to cut out grass in 2-inch squares, being careful not to slice into the underlying soil. Work slowly to avoid tearing the roots. Lay the grass pieces on a tarp to remove later or compost them if they're weed-free. This step prevents grass from growing back and competing with your flowers.
Next, loosen the soil to a depth of 8-12 inches with a garden fork or tiller. Break up any compacted layers so roots can grow easily. If your soil feels heavy or clay-like, mix in 2-3 inches of compost to improve drainage and fertility. This is the foundation for healthy plants.
Add Mulch and Essential Materials
Spread a 2-inch layer of mulch (like shredded bark or pine straw) over the entire bed. This helps retain moisture, suppress weeds, and keep soil temperatures stable. Leave a 1-inch gap around the edges to prevent mulch from piling up against siding or walkways.
Now's the time to install any irrigation you plan to use. If you're using soaker hoses, lay them in a zigzag pattern along the bed's perimeter before adding plants. For drip systems, place emitters near where you'll plant thirstier varieties. Water lightly to settle the mulch and check for even coverage.
Select and Plant Your Flowers
Choose plants that thrive in your climate and sunlight conditions. For beginners, I recommend starting with perennials (like coneflowers or black-eyed Susans) for long-term beauty and annuals (like petunias or zinnias) for quick color. Space plants according to their mature size—check the tags for guidance.
Dig holes twice as wide as the root ball but only as deep as the container's base. Gently remove plants from their pots and place them in the holes, ensuring the top of the root ball sits level with the surrounding soil. Fill gaps with soil and press lightly to eliminate air pockets. Water each plant thoroughly to help roots settle.
Water and Monitor Growth
After planting, water deeply to 1 inch below the soil surface. This encourages roots to grow downward rather than staying near the surface. Use a rain gauge or tuna can to measure—fill it with water and mark the level to track how much you're applying. Early watering helps wash in any remaining nutrients from the soil.
Check your bed daily for the first week, watering whenever the top 1-2 inches of soil feel dry. Look for signs of stress like wilting or yellowing leaves. If you notice pests (like aphids), treat them immediately with soapy water or neem oil before they spread. Healthy plants start with consistent care.
Maintain and Enjoy Your Flower Bed
Remove spent blooms regularly to encourage more flowers and keep the bed looking tidy. This is called "deadheading," and it works for most annuals and many perennials. Use clean pruners and cut just above a set of healthy leaves to promote bushier growth.
Every 2-3 months, refresh the mulch layer to maintain its weed-suppressing and moisture-retaining benefits. In fall, add a 1-inch layer of compost over the bed and lightly scratch it into the top inch of soil. This feeds the soil over winter and sets up your bed for next season's planting.
Tips & tricks for planting a beginner-friendly flower bed
A few simple tricks will help you avoid common mistakes and create a thriving flower bed that lasts for years. Here's what I've learned from years of gardening—especially when starting out.
Sunlight Strategy: That promised 6 hours of sunlight is non-negotiable for most flowers, but here's the thing: morning sun is gentler than harsh afternoon rays. If your spot gets afternoon sun, consider shade-tolerant plants like impatiens or ferns for the front of the bed. I always check sunlight patterns for a full week before planting to avoid surprises.
Soil Prep Secret: When loosening soil to 8-12 inches in Step 2, don't just dig—break up those compacted layers like you're fluffing a pillow. The goal is to create a loose, crumbly texture that roots can easily penetrate. If your soil is particularly dense, work in that 2-3 inches of compost in layers rather than all at once. This prevents compaction when you replant.
Planting Depth Trick: The "level with the surrounding soil" rule in Step 4 is crucial—burying too deep can suffocate stems while planting too shallow leaves roots exposed. Here's my visual cue: The top of the root ball should sit just below where the soil meets the pot. For container plants, gently squeeze the sides to check for hidden roots before planting.
Watering Wisdom: That 1-inch deep watering in Step 5 might seem like a lot, but it's essential for establishing roots. I use a tuna can as a makeshift rain gauge—fill it with water, mark the level, and pour it around your plants. This ensures you're giving roots the moisture they need without over-saturating. For the first week, I water at the same time every morning to build consistency.
Pro Tips for Plant A Flower Bed For Beginners
- A few simple tricks will help you avoid common mistakes and create a thriving flower bed that lasts for years.
- Sunlight Strategy: That promised 6 hours of sunlight is non-negotiable for most flowers, but here's the thing: morning sun is gentler than harsh afternoon rays.
- Soil Prep Secret: When loosening soil to 8-12 inches in Step 2, don't just dig—break up those compacted layers like you're fluffing a pillow.
Frequently asked questions
Got questions? You’re not alone! Planting a flower bed can feel overwhelming at first, but these answers will help you feel confident and ready to dig in.
What’s the best time of year to plant a flower bed?
The ideal time depends on your climate, but spring (after the last frost) and early fall are the sweet spots for most regions. These seasons give plants time to establish roots before extreme heat or cold. If you’re in a mild zone, you can plant year-round—but avoid peak summer or winter. Always check your local frost dates!
How often should I water my new flower bed?
Newly planted flowers need consistent moisture—water deeply 2-3 times per week for the first few weeks (or daily in hot weather). Once established, most flowers prefer 1 inch of water per week, either from rain or irrigation. Mulch helps retain moisture!
Can I plant flowers in a flower bed without removing all the grass?
Yes! If you’re short on time, you can smother the grass with thick layers of cardboard or newspaper (covered with mulch) to kill it naturally. Alternatively, use a sharp spade to cut grass roots in sections before planting. Just avoid herbicides—they can harm your flowers.
What do I do if bugs or pests show up after planting?
Stay calm—pests are common! Start with neem oil or insecticidal soap for mild infestations. Encourage beneficial insects like ladybugs or lacewings by planting marigolds or basil nearby. For severe issues, research organic pest controls or consult a local garden center. Prevention is key: healthy soil = resilient plants!
Are there low-maintenance flower options for beginners?
Try drought-tolerant perennials like lavender, coneflowers, or black-eyed Susans, or hardy annuals like zinnias or marigolds. These thrive with minimal fuss. Group them by sunlight needs (full sun, partial shade) to simplify care. Succulents or ornamental grasses are also great for lazy gardeners!
Still stumped? Drop your question in the comments—we’re happy to help you grow!
Wrapping up and next steps
Planting your first flower bed is a rewarding journey—one that starts with preparation, patience, and a little creativity! 🌱 By choosing the right location, prepping the soil, selecting the perfect plants, and nurturing them with care, you’ll soon enjoy a vibrant, thriving garden that brings joy to your space.
Remember, every expert gardener started exactly where you are now.
Ready to take the next step? Start small—pick one section of your flower bed to plant this weekend! Grab your tools, follow the steps you’ve learned, and watch your green thumb grow. Happy planting! 🌸