
Watering
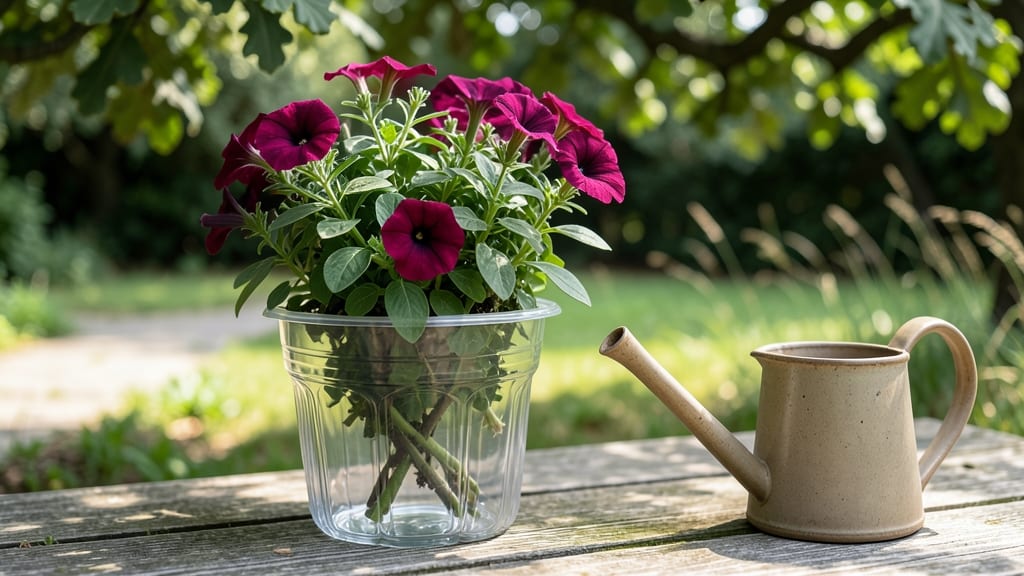
Creating a self-watering flower pot eliminates the guesswork of remembering to water—my first one saved my struggling ferns during a week-long vacation. 🌿 The secret lies in a simple reservoir system that keeps roots consistently moist without drowning them, perfect for busy gardeners or those prone to overwatering.
You’ll need just a few supplies: a decorative outer pot, a smaller inner container (like a plastic bottle or nursery pot), pebbles for drainage, and your favorite plants.
The setup takes under 30 minutes, and once assembled, it reduces watering to once a week—ideal for herbs, flowers, or even small veggies like lettuce. No more wilted leaves or soggy soil.
What you’ll end up with is a self-sustaining system where plants thrive without constant attention. The reservoir slowly releases moisture as needed, mimicking natural rainfall, while the pebbles prevent root rot. By the end, your greenery will look lush and vibrant with minimal effort—just add water and watch it work.
This method adapts to any space, from sunny patios to shady windowsills, and works year-round. Whether you’re growing annuals, perennials, or even microgreens, the same principles apply. Let’s build one that keeps your plants happy while you enjoy the view.
📚 In This Guide
- What you need
- Instructions
- Tips and common mistakes
- Wrapping up and next steps
What you need
- ● Plastic container or bucket (5+ gallons, with a lid or removable top) – Example: a 5-gallon paint bucket or a clean storage tote.
- ● Drill or hole saw – For creating drainage holes and a water reservoir opening.
- ● Wick material – Options: Cotton rope (¼-inch diameter, 12–18 inches long)
- ● Absorbent fabric strips (like felt or burlap)
- ● Waterproof container for the reservoir – Example: A smaller plastic cup or a sealed bag (like a ziplock) that fits snugly inside the main pot.
- ● Potting soil – Lightweight, well-draining mix (avoid heavy garden soil).
- ● Your favorite plant(s)! – Choose drought-tolerant varieties like succulents, herbs, or trailing plants.
- ● Screwdriver or wrench – For securing lids or adjusting fittings.
- ● Waterproof sealant (e.g., silicone) – To prevent leaks around the reservoir.
- ● Decorative paint or markers – To customize your pot!
- ● Extra wicks – For larger pots or multiple plants.
- ○ Gravel or pebbles – Optional, to separate soil from the reservoir (¼–½ inch layer).
Step-by-step guide to building a DIY self-watering flower pot
Here’s how to create a foolproof system that keeps roots hydrated without fuss.
🪴 Step 1: Select and Prepare Your Outer and Inner Containers
Choose a sturdy outer pot with a diameter 2-3 inches larger than your inner planting container. The inner pot should have drainage holes—this is where water will wick up from the reservoir. I like using plastic nursery pots for the inner container because they’re lightweight and don’t degrade like terra cotta. Place the inner pot inside the outer pot, ensuring it sits 1-2 inches above the bottom to create space for the water reservoir.
If your outer pot lacks feet, add 4-6 small stones or broken pottery shards at the bottom. These elevate the inner pot and prevent soil from blocking the drainage holes. The reservoir should hold at least 1 quart of water—enough to sustain most flowers for 5-7 days without refilling.
💧 Step 2: Create the Water Reservoir and Wick System
Fill the gap between the inner and outer pots with a wicking material to draw moisture upward. I use cotton rope or thick yarn cut into 12-inch lengths—one rope per drainage hole in the inner pot. Thread each rope through a hole, then tie a knot inside the inner pot to hold it in place. The other end should dangle freely into the reservoir at the bottom.
Test the wick by adding water to the outer pot. You’ll see it climb up the rope within minutes—this is how your plants stay hydrated. If the rope doesn’t absorb water quickly, soak it in warm water for 10 minutes beforehand to prime it. Avoid synthetic fibers; they don’t wick as effectively and can rot over time.
☀️ Step 3: Fill the Inner Pot with Moisture-Retentive Soil
Use a lightweight, well-draining potting mix blended with 20% perlite or vermiculite to improve aeration. Moisten the mix until it’s evenly damp but not soggy—think of it as a slightly wrung-out sponge. Fill the inner pot to ½ inch below the rim, leaving room for plants and watering.
Press the soil down gently to eliminate air pockets, but don’t compact it tightly. Roots need space to breathe, and a dense mix will slow water absorption. Tap the pot lightly on the table to settle the soil evenly. Here’s the thing—overwatering at this stage can drown the wicks, so let the soil dry slightly before planting.
🌿 Step 4: Plant and Test the Self-Watering System
Add your chosen flowers, spacing them according to their mature size. Water the soil thoroughly until it drips from the drainage holes—this ensures the wicks are fully saturated. Fill the outer reservoir with 1-2 quarts of water, enough to reach midway up the inner pot’s sides. You’ll notice the soil surface stays moist for days without additional watering.
Monitor the system for 3 days to check for leaks or uneven moisture. If the soil dries too quickly, add another wick or increase the reservoir volume. Leggy growth or yellowing leaves usually mean the wicks aren’t drawing enough water—adjust by trimming the inner pot’s soil line lower or adding more ropes.
⏰ Step 5: Maintain and Refill for Long-Term Success
Top off the reservoir every 5-7 days or when the water level drops below the wicks. Use room-temperature water to avoid shocking the roots. I set a reminder on my phone because forgetting to refill is the #1 reason these systems fail. Over time, the wicks may degrade—replace them every 3-6 months or when water stops climbing properly.
This setup works best for drought-tolerant perennials, succulents, and herbs like lavender or rosemary. For thirsty annuals like petunias, you’ll need to increase the reservoir size to 2-3 quarts and check water levels every 3-4 days. The key is balance—too much water rots roots, too little stresses plants.
Tips & tricks for perfect self-watering flower pots
These simple adjustments will help you build a system that works flawlessly—and keeps your plants thriving for months.
Container Selection: For optimal performance, choose an outer pot with a smooth interior surface—rough textures can trap moisture and encourage mold growth. I prefer glazed ceramic or plastic containers because they're easy to clean and don't absorb water like unglazed terra cotta. If using decorative pots, ensure they have feet or you can add them—this prevents water pooling at the bottom and keeps roots healthy.
Wick Priming Technique: The 10-minute warm water soak for your cotton rope or yarn is non-negotiable. This step primes the fibers to absorb maximum moisture, which directly impacts how well your system hydrates plants. I've found that pre-soaking also prevents the wicks from sticking together when dry, making installation much easier. Test your wicks by holding them up after soaking—they should feel noticeably heavier and spring back when squeezed.
Soil Preparation: When mixing your lightweight potting soil with 20% perlite or vermiculite, think of it like creating a sponge cake batter—you want just enough moisture to hold together without being soggy. I recommend adding a handful of worm castings (optional) to boost nutrient availability while maintaining excellent drainage. The key is to let the soil dry slightly before planting—this prevents the wicks from becoming waterlogged and losing their effectiveness.
Plant Selection Strategy: While this system works beautifully for drought-tolerant plants, you can also use it for moisture-loving varieties with some adjustments. For example, ferns or impatiens will need larger reservoirs (2-3 quarts) and more frequent water checks (every 3-4 days). The 3-day monitoring period in Step 4 becomes especially critical when experimenting with thirstier plants—watch for wilting as your first indicator of insufficient moisture delivery.
Pro Tips for Make A Self Watering Flower Pot
- These simple adjustments will help you build a system that works flawlessly—and keeps your plants thriving for months.
- Container Selection: For optimal performance, choose an outer pot with a smooth interior surface—rough textures can trap moisture and encourage mold growth.
- Wick Priming Technique: The 10-minute warm water soak for your cotton rope or yarn is non-negotiable.
Frequently asked questions
Got questions about your DIY self-watering flower pot?
You’re not alone! Here are answers to the most common concerns to help you keep your plants happy and hassle-free.
How often do I need to refill the water reservoir?
Refill frequency depends on your climate, plant type, and pot size. In hot weather, check every 2–3 days; cooler seasons may stretch it to 5–7 days. Overwatering is rare with this system, but ensure the reservoir never runs dry to avoid root stress.
Will this work for all types of plants?
Most plants thrive in self-watering pots, but succulents and cacti need extra caution—they prefer drier soil. For these, reduce reservoir water or use a well-draining mix. Herbs, vegetables, and flowering plants love the consistent moisture!
What if my pot starts leaking or overflowing?
Leaks usually mean the wick or fabric isn’t properly sealed. Check the connections between the pot and reservoir, and ensure the fabric isn’t torn. If overflowing occurs, adjust the water level in the reservoir or add a small overflow hole to redirect excess water.
Can I use this system indoors or only outdoors?
Self-watering pots work indoors and outdoors. For indoor use, place them near a window for sunlight and avoid drafts. Outdoors, protect from extreme heat or frost. Just ensure proper drainage to prevent root rot.
What’s a budget-friendly alternative if I don’t have a wick?
No wick? No problem! Use a terracotta pot inside a larger container (like a bucket) with pebbles at the bottom. The outer pot holds water, which slowly seeps into the inner pot via the terracotta’s porous walls. It’s a classic, low-cost hack!
Wrapping up and next steps
Creating a self-watering flower pot is simpler than you think—and the rewards are worth it! With just a few household items, you’ve unlocked a hands-off way to keep your plants thriving without the daily watering hassle.
Whether you’re a busy gardener or just love low-maintenance greenery, this DIY solution is your new best friend.
Ready to take it further? Experiment with different plants or even scale up for a mini indoor garden. Your green thumb (and your plants!) will thank you. 🌱✨