
Flowers
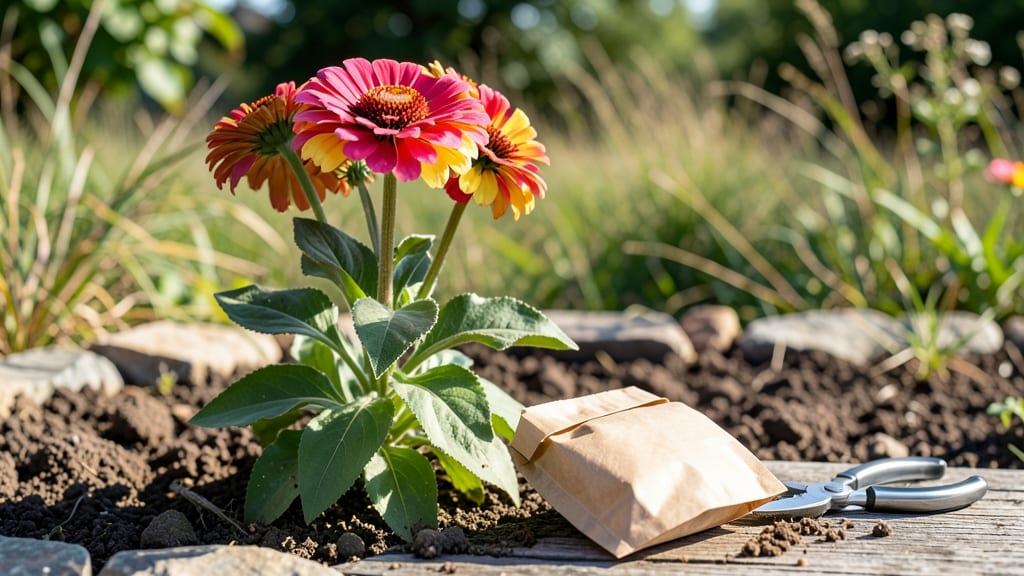
Collecting seeds from flowers isn't just about saving money—it's about preserving the exact varieties you love, year after year. 🌸 I learned this the hard way when my heirloom marigolds vanished from garden centers, forcing me to track down seeds from a specialty catalog.
The secret lies in watching flowers transform from bloom to seed head, then harvesting at the perfect moment before birds or wind steal them first.
You'll need just a few simple tools: small paper envelopes, a pair of clean scissors, and patience—no fancy equipment required. The real skill is timing: harvest dry seeds when pods split open naturally, but collect fleshy fruits like tomatoes before they fully ripen.
A small drying rack or even a cardboard box works perfectly for curing seeds properly before storage.
What you end up with are seeds that germinate with 90%+ viability if stored correctly, ready to replant next season. Imagine growing the same vibrant pink zinnias or fragrant evening primrose you fell in love with, without paying premium prices.
The process connects you directly to the plant's life cycle in a way buying seeds never does.
Whether you're saving seeds from annuals like cosmos or perennials like coneflowers, the same principles apply. Here's how to make every seed you collect worth keeping—no wasted effort, just reliable germination. Let's get started with the exact timing that makes all the difference.
📚 In This Guide
- What you need
- Instructions
- Tips and common mistakes
- Wrapping up and next steps
What you need
- ● Pruning shears or sharp scissors – A pair with clean, sharp blades (preferably sterilized with rubbing alcohol) to avoid damaging plant tissues.
- ● Paper bags or breathable seed envelopes – 3-5 medium-sized brown paper bags (or kraft paper envelopes) for air circulation and drying.
- ● Labeling tags or masking tape + marker – To label each bag with the plant name, date, and location (e.g., "Sunflower – Aug 2024 – Backyard").
- ● Drying tray or mesh screen – A flat surface (like a baking sheet) or a fine mesh screen to spread seeds for even drying.
- ● Fine-mesh sieve or sifter – A small handheld sieve (1-2 mm mesh size) to separate seeds from chaff or debris.
- ● Rubbing alcohol (70% isopropyl) or bleach solution – For sterilizing tools to prevent mold or disease transfer.
- ○ Glove – A pair of disposable gloves (optional but helpful for hygiene, especially with sticky or thorny plants).
- ● Seed catalog or notebook – To track maturity stages, germination rates, or notes on parent plants.
- ● Hair dryer (cool setting) – For speeding up drying in humid climates (use sparingly to avoid heat damage).
- ● Desiccant packets (silica gel) – For long-term storage to absorb excess moisture in sealed containers.
- ● Magnifying glass – To inspect seeds for viability (look for plump, intact seeds without cracks).
- ● Seed storage containers (airtight jars or mylar bags) – For long-term preservation (e.g., glass jars with lids or vacuum-sealed bags).
Step-by-Step guide to harvesting flower seeds for future plantings
Timing matters most—collect seeds at the wrong moment and you’ll end up with weak or nonviable germination.
🌱 Step 1: Identify Mature Seed Pods and Track Development
Wait until flower heads begin drying naturally on the plant. For annuals like zinnias or cosmos, this means the petals will have fallen or turned brown, leaving behind papery seed pods. Perennials like coneflowers or black-eyed Susans take longer—watch for pods that turn from green to tan or brown.
Gently squeeze a mature pod between your fingers. If seeds rattle inside but the pod doesn’t crumble, it’s ready. If it’s still firm or green, give it another week. Overripe pods release seeds prematurely, so don’t wait too long—some varieties shatter within days once fully dry.
Here’s the thing—some flowers, like milkweed, release seeds explosively when disturbed. If you notice pods splitting open on their own, collect them immediately before they scatter. I’ve lost entire seed batches to wind when I ignored this warning sign.
🌿 Step 2: Harvest Seeds Using the Right Technique
Cut entire seed heads with clean, sharp scissors or pruners, leaving a 2-inch stem attached. This prevents seeds from spilling while you process them. Place harvested heads in a paper bag (not plastic—condensation ruins seeds) and label each with the plant name and date.
For delicate flowers like poppies, where seeds are exposed on the head, use a small paintbrush or tweezers to gently coax them into the bag. Never shake or rub pods—this damages the seed coat and reduces germination rates. If you’re collecting from a large plant like sunflowers, lay a sheet of paper beneath the head and brush seeds onto it before bagging.
Real talk: If you’re harvesting from a garden bed, avoid collecting seeds from plants that may have been cross-pollinated by neighbors’ varieties. The resulting offspring might not be true to type. Stick to isolated plants or those with distinct flower colors to maintain purity.
💧 Step 3: Dry and Store Seeds Properly
Spread harvested seed heads in a single layer on a paper towel or screen tray in a dry, well-ventilated area. Keep them out of direct sunlight—indirect light and room temperature (65–75°F) are ideal. Turn the heads occasionally to ensure even drying, which typically takes 1–3 weeks depending on humidity.
Once fully dry, pods will crumble easily when rubbed between your fingers. Remove any remaining chaff or debris by winnowing (tossing the seeds in a bowl and letting wind blow away lighter materials) or sifting through a fine mesh strainer. Store cleaned seeds in airtight containers like glass jars or envelopes with a silica gel packet to absorb moisture.
Don’t skip the drying step. Seeds stored with excess moisture will mold within days. I’ve seen entire seed collections ruined by damp storage—trust me, it’s not worth the risk. Label containers with the harvest year and germination instructions (some seeds need cold stratification).
⏰ Step 4: Test Germination Before Long-Term Storage
Before storing seeds for more than a year, conduct a simple germination test. Moisten a paper towel, place 10–20 seeds in the center, and fold it over. Seal the towel in a ziplock bag and keep it in a warm, dark place. Check for sprouts in 7–14 days. If fewer than 50% germinate, store only the best seeds or consider collecting fresh ones next season.
Some seeds, like those from biennials or perennials, require cold stratification (a period of cold, moist storage) to break dormancy. Research your specific flowers—many native wildflowers need 60–90 days at 35–40°F before they’ll sprout reliably. I always note these requirements on my seed containers to avoid forgetting.
If germination rates drop below 30%, it’s time to replenish your stock. Seeds lose viability over time, especially in humid climates. For heirloom varieties, this test ensures you’re saving seeds that will grow true and strong.
Tips & tricks for perfect flower seed collection
Precision timing and careful handling make all the difference when saving viable seeds from your garden.
Timing Secret: For annuals, watch for petals to fall completely before harvesting—this usually happens when pods turn papery and seeds rattle inside. With perennials like coneflowers, wait until pods develop that tan/brown hue and feel dry to the touch. I've learned the hard way that harvesting too early means immature seeds, while waiting too long risks losing seeds to wind or animals. Mark your calendar when you first notice drying pods to track progress.
Harvest Technique: The 2-inch stem attachment in Step 2 isn't just about convenience—it creates a natural handle that prevents seed spillage during transport. For flowers like poppies where seeds are exposed, I've found that using a soft-bristled paintbrush works better than fingers to gently coax seeds into bags without damaging delicate seed coats. Always use paper bags (not plastic) to prevent condensation that could ruin your harvest.
Drying Strategy: The 1-3 week drying period in Step 3 depends heavily on your climate. In humid areas, you might need to extend drying to 4 weeks by using a fan on low setting. Place a small dish of silica gel near your drying trays to absorb excess moisture. Once pods crumble easily, they're ready—this is your cue to separate seeds from chaff using a fine mesh strainer.
Germination Test: The 7-14 day test in Step 4 reveals germination potential before you commit to long-term storage. I've saved myself countless hours by catching low germination rates early—if fewer than 50% sprout, either store only the best seeds or plan to collect fresh ones next season. For seeds requiring cold stratification (like many native wildflowers), note the 60-90 days at 35-40°F requirement directly on your storage containers.
Pro Tips for Collect Seeds From Flowers
- Precision timing and careful handling make all the difference when saving viable seeds from your garden.
- Timing Secret: For annuals, watch for petals to fall completely before harvesting—this usually happens when pods turn papery and seeds rattle inside.
- Harvest Technique: The 2-inch stem attachment in Step 2 isn't just about convenience—it creates a natural handle that prevents seed spillage during transport.
Frequently asked questions
Got questions about collecting seeds from flowers? You’re not alone! Here are some of the most common concerns—plus quick, practical answers to help you succeed.
When is the best time to collect seeds from flowers?
The ideal time varies by plant, but generally, wait until the seed pod or flower head is fully mature and brown or dry (not green). For annuals, this is often after the petals fall; for perennials, it may be late summer or fall. Pro tip: Check your plant’s specific lifecycle—some seeds ripen faster than others!
How do I know if the seeds are ready to collect?
Seeds are ready when they’re easy to remove from the pod or flower head with gentle pressure. If they’re still attached firmly, give them more time. A good rule of thumb: If the pod splits open on its own, the seeds are likely overripe—collect them before they scatter!
Can I collect seeds from hybrid flowers?
Yes, but the results may not be true to the parent plant. Hybrid seeds often produce unpredictable offspring, like a mix of traits from both parents. If you want consistent blooms, opt for heirloom or open-pollinated varieties instead.
What’s the best way to store collected seeds?
Store seeds in a cool, dry place (like a sealed envelope or jar with silica gel). Label them with the plant name and date! Most seeds stay viable for 1–5 years, depending on the species. Freezing can extend longevity for some types.
Why aren’t my seeds germinating after collection?
Several factors could be at play: immature seeds, incorrect storage (too moist/warm), or needing stratification (a cold period). Test a few seeds to see if they’re viable, and research your plant’s specific germination needs—some need light, others prefer darkness!
Can I collect seeds from wildflowers?
Yes, but check local regulations first—some wild areas prohibit seed harvesting to protect ecosystems. If legal, collect sparingly and avoid endangered species. For ethical sourcing, consider buying seeds from reputable nurseries or seed banks.
Wrapping up and next steps
Collecting seeds from flowers is a rewarding way to propagate plants, save money, and connect with nature’s cycles. By mastering precision timing—knowing when to harvest, drying seeds properly, and storing them correctly—you’ll boost germination rates and grow thriving plants.
Whether you’re a gardening novice or a seasoned enthusiast, every seed you save is a step toward self-sufficiency and beauty.
Now that you’re equipped with the know-how, start small—pick a few easy flowers like marigolds or sunflowers—and experiment! Share your successes (or lessons learned) with fellow gardeners, and soon, you’ll be filling your garden with homegrown blooms. Happy harvesting! 🌱✨