
Flowers
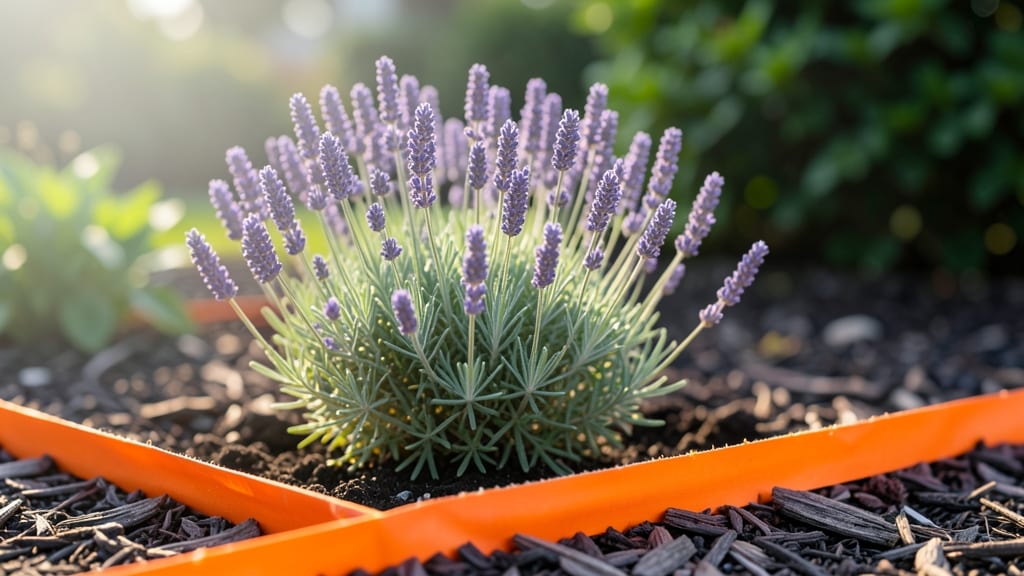
Designing a flower bed that looks like it belongs in a magazine starts with the right template. I’ve used these customizable layouts to transform everything from a tiny city patio to a sprawling backyard—no green thumb required.
The secret isn’t just picking pretty plants; it’s arranging them in ways that create movement, balance, and year-round interest. My first attempt was a chaotic mess of clashing colors, but after a few seasons of trial and error, I landed on a system that actually works.
These templates cover every style—cottage gardens with wild, layered blooms, modern beds with clean lines and bold pops of color, and formal designs that look like they belong in a historic estate. Each layout includes plant spacing guides, seasonal bloom timelines, and color palettes that harmonize without being boring.
You’ll get everything you need to sketch it out on paper or use free digital tools to visualize your space before digging a single hole.
What you’ll end up with is a flower bed that feels intentional, not thrown together. Imagine walking past in summer and seeing vibrant blooms that change with the seasons—purples fading into pinks, then whites, then fall’s fiery reds.
The best part? You can mix and match plants to fit your climate, sunlight, and budget. No two gardens will look the same, even if they start with the same template.
Whether you’re working with a 6-inch-wide window box or a 10-foot-by-12-foot backyard plot, these designs scale effortlessly. The key is adjusting plant sizes and quantities to match your space—just plug in your measurements, and the template does the rest.
Ready to turn your garden into a showstopper? Let’s get designing.
📚 In This Guide
- What you need
- Instructions
- Tips and common mistakes
- Wrapping up and next steps
What you need
- ● Soil: Premium garden soil or a mix of topsoil and compost (50% topsoil, 50% compost for best results). Quantity: Enough to fill your flower bed to a depth of 6–12 inches.
- ● Mulch: Organic mulch (e.g., shredded bark, pine straw, or cocoa hulls) to retain moisture and suppress weeds. Quantity: 2–3 inches spread evenly.
- ● Plants: Choose perennials, annuals, or shrubs based on your template (e.g., lavender, marigolds, hostas, or ornamental grasses). Quantity: Varies by design—check your template for spacing guidelines!
- ● Fertilizer: Slow-release granular fertilizer (10-10-10 or organic options like compost tea). Quantity: Follow package instructions (typically 1–2 lbs per 100 sq. ft.).
- ● Watering System: Hoses with adjustable nozzles, soaker hoses, or a drip irrigation kit for efficiency.
- ● Measuring Tape – To mark out your flower bed dimensions accurately.
- ● Garden Shovel or Spade – For digging and amending soil.
- ● Garden Gloves – Protect your hands from thorns and rough edges.
- ● Pruners or Shears – For trimming plants and shaping edges.
- ● Wheelbarrow – To haul soil, mulch, or plants efficiently.
- ● String & Stakes (or Spray Paint) – For outlining your design before planting.
- ○ Knee Pads (Optional) – Because gardening is easier on your knees!
- ● Sunlight Assessment: Know your bed’s sunlight exposure (full sun, partial shade, or full shade) to pick the right plants.
- ● Design Template: Print or sketch your chosen flower bed design template for reference.
- ● Weather Check: Plant on a cool, overcast day or early morning to reduce stress on plants.
- ○ Optional: Edging materials (bricks, metal, or plastic) to define borders.
- ● Decorative stones or pebbles for a polished look.
- ● Plant labels for easy identification and maintenance.
Step-by-Step guide to designing customizable flower beds
Transform any outdoor space with these proven design principles that adapt to your garden's unique shape and style.
Analyze Your Space and Define the Bed Shape
Start by measuring your available area and sketching a rough outline on graph paper. Look for natural features like existing trees, walkways, or slopes that will dictate your bed's shape. I always begin with a rectangular or curved edge—these are easiest to work with and create visual flow. Avoid overly complex shapes unless you're experienced; they waste materials and create maintenance headaches.
Use a tape measure and stakes to mark temporary boundaries. Walk around the marked area to visualize how it will look from different angles. Notice how sunlight moves across the space at different times of day—this will determine where sun-loving plants go versus shade-tolerant varieties. Pro tip: Take photos from multiple angles before committing to your design; you'll spot issues you'd miss in person.
Choose a Design Template Based on Garden Style
Select one of four proven templates that adapt to any garden style: the classic border (for formal gardens), island bed (for focal points), mixed border (for layered planting), or curved cottage garden (for organic flow). Each template includes specific proportions for plant spacing and height variation that create visual balance. For example, the classic border uses 3-foot wide strips with taller plants at the back and shorter ones at the front.
I recommend starting with the mixed border template if you're new to design—it's the most forgiving. This template divides the bed into three zones: back (tall perennials), middle (medium shrubs), and front (low ground covers). The key is maintaining a 2:1 ratio between plant heights in each zone to avoid a cluttered look. Print out the template and overlay it on your space sketch to visualize how it fits.
Plan Plant Placement Using the Rule of Thirds
Divide your flower bed mentally into a 3x3 grid to create natural focal points. Place your star plant (the most striking specimen) at one of the intersection points—this draws the eye immediately. For example, a black-eyed Susan or daylily makes an excellent focal point in a mixed border. Surround it with complementary colors and textures that lead the viewer's eye through the bed.
Group plants with similar water needs together to simplify irrigation. I always arrange plants in odd-numbered clusters (3, 5, or 7) because they look more natural than even groupings. Leave 12-18 inches between clusters to allow for growth and easy maintenance. Use the template's spacing guidelines as your minimum—you can always expand if your plants have more vigorous growth habits.
Incorporate Hardscaping and Maintenance Access
Add edging materials (like brick, stone, or metal) to define the bed's shape and prevent soil from spilling into walkways. I prefer flexible edging for curved beds because it reduces the risk of cracking as plants grow. Include a 5-foot wide maintenance path around the perimeter—this makes weeding, pruning, and harvesting easier without damaging plants. For larger beds, add a central pathway to divide the space into manageable sections.
Plan for seasonal interest by including plants that provide color or texture in every season. For example, pair spring bloomers like tulips with summer perennials like coneflowers and add evergreen foliage like heuchera for winter structure. The template includes a seasonal interest checklist—use it to ensure your design remains vibrant year-round. Don't forget to include 3-5% of the bed area for mulch (like shredded bark) to retain moisture and suppress weeds.
Finalize with Plant Layering and Color Theory
Arrange plants in three distinct layers: tall (back), medium (middle), and low (front). The tallest plants should be no more than 2/3 the bed's height to avoid blocking sunlight for shorter varieties. I use the 90-degree rule for color placement—place warm colors (reds, oranges) on the sunny side of the bed and cool colors (blues, purples) on the shady side to enhance the visual impact. This creates a natural color transition that feels balanced.
Create a planting map with the exact location of each plant, including variety names and spacing measurements. This becomes your reference guide for future maintenance. Label each plant group with small wooden stakes to make identification easier. Before breaking ground, walk through your design one last time—adjust any plant placements that feel visually unbalanced. Remember, the best designs often start with a simple template and evolve over time.
Tips & tricks for perfect flower bed design templates
These design principles will help you create a cohesive, visually stunning flower bed that flows with your garden's natural features.
Space Analysis: When sketching your bed's outline in Step 1, consider the mature size of your plants—not their current size. I always add an extra 6-12 inches to my initial measurements to account for growth, especially for perennials like black-eyed Susans which can spread aggressively. This prevents overcrowding and makes future maintenance much easier. The key is visualizing the bed in 2-3 years, not just when you plant.
Template Selection: The mixed border template in Step 2 is my go-to for beginners because it naturally creates visual depth through its three distinct zones. For a more dramatic effect, consider adding a 4th zone of ground-hugging annuals in front of your low ground covers—this adds a pop of color that changes with each season. Just be sure to maintain that 2:1 height ratio between zones to preserve the layered look.
Plant Placement: In Step 3, when arranging your star plant at the intersection points, think about its mature height relative to the bed's overall dimensions. A 3-foot tall daylily might look perfect now, but in three years it could dominate a 4-foot tall bed. I always check plant tags for mature height and mark their final positions with temporary stakes before digging. This prevents costly mistakes and ensures your focal point remains impactful throughout the seasons.
Maintenance Access: The 5-foot maintenance path mentioned in Step 4 is non-negotiable for larger beds. For smaller spaces, create a 2-foot wide path instead—just wide enough to kneel comfortably while weeding. I've learned the hard way that skimping on this space leads to trampled plants and frustrated gardening sessions. Pro tip: Use stepping stones in your path to define the walkway while allowing rainwater to percolate back into the soil.
Pro Tips for Flower Bed Design Templates
- These design principles will help you create a cohesive, visually stunning flower bed that flows with your garden's natural features.
- Space Analysis: When sketching your bed's outline in Step 1, consider the mature size of your plants—not their current size.
- Template Selection: The mixed border template in Step 2 is my go-to for beginners because it naturally creates visual depth through its three distinct zones.
Frequently asked questions
Got questions about transforming your space with flower bed design templates? You’re not alone! Here are answers to the most common queries to help you get started with confidence.
What’s the best time of year to start planning my flower bed?
For most climates, early spring (before planting season) is ideal for sketching designs and sourcing materials. However, cool-season flowers (like pansies or tulips) can be planted in fall, while warm-season blooms (e.g., marigolds) thrive when planted after the last frost. Pro tip: Check your USDA Plant Hardiness Zone for local timing!
How do I choose a template that fits my space?
Measure your flower bed’s length, width, and depth first! Templates are usually scaled to common sizes (e.g., 4’x8’), but you can resize them proportionally using graph paper or digital tools like Canva. Look for layouts labeled “small,” “medium,” or “large” to match your yard’s scale—overcrowding stunts growth, while too much space wastes plants!
Are free templates as good as paid ones?
Many free templates (from Pinterest, Etsy, or gardening blogs) offer high-quality designs. Paid templates often include premium features like 3D visuals or material lists, but free options work perfectly for beginners. Just ensure the template includes a planting guide or spacing recommendations.
What if my soil isn’t ideal for the plants in my template?
No worries! Most templates list sunlight and soil preferences (e.g., “full sun, well-drained soil”). If your soil is clay-heavy or sandy, amend it with compost or mulch. For tricky spots, swap plants: Replace drought-sensitive blooms with succulents or native plants that thrive in your conditions.
Can I mix and match templates for a custom look?
Yes! Combine themes, colors, or shapes from different templates to create a unique design. For example, pair a geometric template with a cottage-garden color palette. Just ensure plant heights and sunlight needs align—tall flowers (like delphiniums) belong at the back, while low growers (like impatiens) shine in front.
Still stumped? Drop your question in the comments—we’re happy to help!
Wrapping up and next steps
Transforming your garden with flower bed design templates is easier than ever—whether you’re a seasoned gardener or just starting out! From bold geometric patterns to whimsical cottage charm, the right layout can elevate your outdoor space into a vibrant retreat. 🌸
Now that you’ve explored materials, tips, and FAQs, it’s time to pick your favorite template and get planting! Start small with a single bed or go big with a full garden makeover—your creativity is the only limit. Happy gardening!