
Vegetables
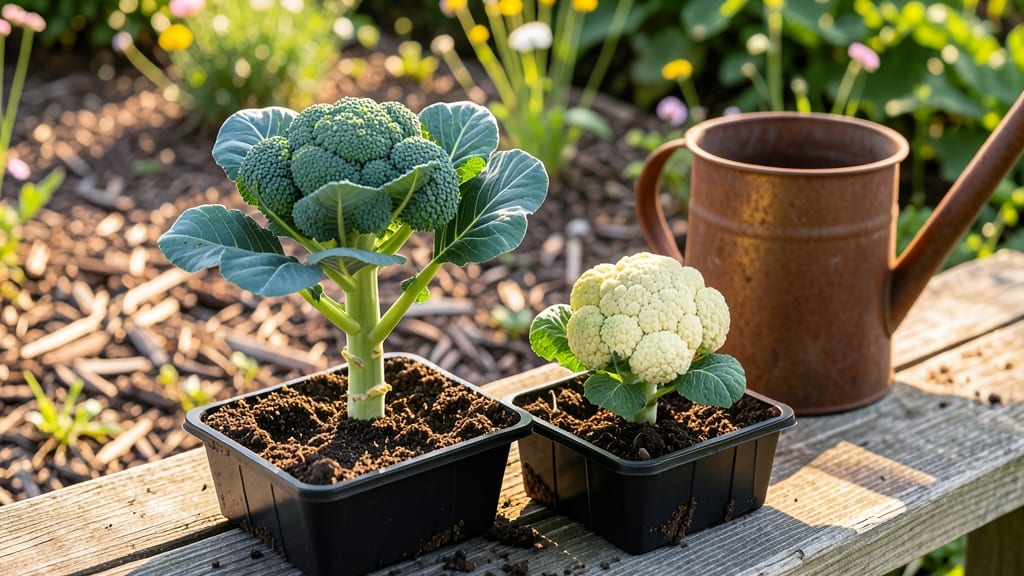
Growing broccoli and cauliflower seedlings in just 5 days feels like cheating—until you try it. 🌱 The secret lies in heat, moisture, and a little patience, not fancy equipment.
My first batch took 10 days to sprout, but after tweaking the setup, I now see tiny green hooks breaking through the soil within a week.
You only need three things: a heat mat (or warm spot), damp seed-starting mix, and a clear plastic lid or bag to trap humidity. No fancy gear—just a way to keep seeds at 75-80°F until they pop.
The payoff? Sturdy seedlings ready for transplanting in 3-4 weeks, not the weak, leggy ones you get from slow germination.
By day 5, you’ll have uniform seedlings with strong stems, not the patchy, uneven starts that struggle later. The key is consistency—keep the soil moist but not soggy, and move trays to bright light immediately after sprouting. No more waiting months for harvest; you’ll be eating homegrown florets by summer.
Works for both broccoli and cauliflower, even in cool climates. Once you master this, you’ll never buy seedlings again—and your garden will thank you with bold, disease-resistant plants that outperform store-bought starts. Ready to speed up your garden?
📚 In This Guide
- What you need
- Instructions
- Tips and common mistakes
- Wrapping up and next steps
What you need
- ● Seeds: Organic broccoli and cauliflower seeds (choose fast-germinating varieties like 'De Cicco' or 'Snowball Y Improved'). Quantity: 10–20 seeds per container.
- ● Seed-starting trays or small pots: 2–3 inch deep containers with drainage holes. Quantity: 1 tray (50+ cells) or 12–20 small pots.
- ● Seed-starting mix: Lightweight, sterile potting soil (avoid garden soil—it’s too dense!). Quantity: Enough to fill your trays/pots (~1–2 gallons).
- ● Watering can or spray bottle: With a fine mist setting to avoid disturbing seeds.
- ○ Clear plastic dome or plastic wrap: To create a humidity tent (optional but highly recommended for faster germination).
- ● Grow lights or sunny windowsill: A grow light (LED or fluorescent) is ideal, or a south-facing window with 6+ hours of sunlight daily.
- ○ Heat mat (optional): Set to 70–75°F to speed up germination (especially for slower starters like cauliflower).
- ● Seedling heating pad or warm spot: Place trays near a warm appliance (like a fridge) if you lack a heat mat.
- ● Fertilizer (mild): A balanced, water-soluble fertilizer (5-5-5 or 10-10-10) for after germination. Dilute to half-strength!
- ● Tweezers or small spoon: For gently placing seeds in soil.
- ● Labeling tags: To track varieties (trust us, seedlings look very similar at first!).
- ● Fungicide (preventative): Like hydrogen peroxide (3%) or a natural spray to deter mold in humid conditions.
Step-by-step guide for germinating broccoli and cauliflower seedlings quickly
Here's how to coax those stubborn seeds to sprout in just 5 days—no waiting months for stubborn germination.
🌱 Step 1: Soak Seeds Overnight for Faster Sprouting
Place 4 broccoli or cauliflower seeds in a small bowl and cover them with lukewarm water. Let them soak for 12 hours—this softens the tough outer shell and speeds up germination. Here's the thing: these seeds have a thick coating that slows things down, and soaking cuts that time in half.
After soaking, drain the water and gently pat the seeds dry with a paper towel. They should feel slightly damp but not wet. This prevents mold while keeping them hydrated. I always label the bowl with the date—5 days from now, you’ll see those first green spikes.
💧 Step 2: Plant in Warm, Moist Soil and Keep Humid
Fill a seedling tray with sterile seed-starting mix (not garden soil—it’s too dense and may harbor fungus). Moisten it until it’s damp but not soggy, then press the mix down lightly to remove air pockets. The goal is a firm, even surface where seeds can snuggle just right.
Plant the soaked seeds ¼ inch deep—about twice their diameter. Space them 1 inch apart in the tray. Cover them lightly with a thin layer of the same mix, then mist the surface with water until it’s evenly damp. Here’s where it gets fun: place the tray inside a clear plastic bag or under a humidity dome to trap warmth and moisture. This creates the perfect greenhouse effect.
☀️ Step 3: Provide Warmth and Indirect Light
Broccoli and cauliflower seeds germinate fastest at 75-85°F. If your home runs cooler, place the tray on a seedling heat mat or near a warm spot like the top of the fridge. You’ll see tiny sprouts push through the soil in 3-5 days—watch for the first green tips breaking the surface.
Once sprouts appear, remove the plastic bag immediately to prevent damping-off (a fungal disease that collapses seedlings overnight). Move the tray to a bright, indirect light source, like a south-facing window or under grow lights. Avoid direct sunlight at this stage—it can scorch delicate seedlings. You’ll know they’re happy when their stems stay sturdy and leaves stay a vibrant green.
⏰ Step 4: Thin Seedlings and Strengthen Stems
After 7-10 days, when seedlings have 2-3 true leaves (not just the first baby leaves), it’s time to thin. Use a small pair of scissors to snip the weaker seedlings at the soil line—don’t pull them, or you’ll disturb the roots of the ones you’re keeping. Real talk: this step feels brutal, but crowded seedlings compete for nutrients and grow weak.
Leave the strongest seedling in each cell, spacing them 2-3 inches apart if they’re still too close. Water gently from the bottom (place the tray in a shallow dish of water for 10 minutes) to avoid disturbing the roots. Now’s the moment that matters: increase light to 14-16 hours daily to prevent leggy growth. You’ll see compact, stocky seedlings ready for transplanting in 3-4 weeks.
Tips & tricks for perfect broccoli and cauliflower seedlings
Here's what nobody tells you about speeding up those stubborn seeds—these tricks cut germination time in half while keeping your seedlings strong.
Soaking Secret: The 12-hour soak is non-negotiable for breaking through those tough seed coats, but here's the thing: use lukewarm water (around 85°F) instead of cold. Warmer water activates enzymes faster, and you'll see those first root hairs emerge 24-36 hours earlier than with cold water. I like to soak seeds in a small jar with a loose lid to prevent mold while keeping them hydrated.
Soil Science: That sterile seed-starting mix isn't just about avoiding fungus—it's about creating the perfect air-to-moisture ratio. Press it down firmly after moistening to eliminate air pockets, then water from the bottom for 10 minutes before planting. This bottom-watering technique prevents surface mold while ensuring even moisture distribution throughout the tray. The firm surface also gives those tiny roots something to grip immediately.
Heat Hack: If your home runs cooler than 75°F, don't just hope for the best—create a microclimate. Place your seedling tray on top of your fridge (not inside) where it stays consistently warm. I've seen germination times drop from 7 days to 4 days using this trick. Just monitor for condensation buildup inside the humidity dome and vent it daily to prevent damping-off.
Light Timing: Those 14-16 hours of daily light aren't just about growth—they're about preventing etoliation (the leggy, weak-stemmed seedlings you dread). Use a timer for your grow lights if you're not consistent. I position my seedlings 6 inches below the lights, and rotate the tray daily so all sides get equal exposure. This ensures even, sturdy growth from the very first true leaves.
Pro Tips for Broccoli And Cauliflower Seedlings
- Here's what nobody tells you about speeding up those stubborn seeds—these tricks cut germination time in half while keeping your seedlings strong.
- Soaking Secret: The 12-hour soak is non-negotiable for breaking through those tough seed coats, but here's the thing: use lukewarm water (around 85°F) instead of cold.
- Soil Science: That sterile seed-starting mix isn't just about avoiding fungus—it's about creating the perfect air-to-moisture ratio.
Frequently asked questions
Got questions about growing broccoli and cauliflower seedlings?
You’re not alone! Here are answers to the most common queries to help you succeed—fast.
How can I speed up germination for broccoli and cauliflower seedlings?
For faster germination (3–5 days), soak seeds in warm water for 4–6 hours before planting. Keep soil consistently moist (not soggy) and maintain a warm, humid environment—like a mini greenhouse or covered tray. Avoid cold drafts, as they slow growth.
What’s the best time to transplant seedlings outdoors?
Transplant broccoli and cauliflower seedlings outdoors after the last frost when soil temps reach 45°F (7°C) or warmer. Seedlings should be 3–4 inches tall with 2–3 true leaves. Harden them off for 5–7 days before moving to prevent shock.
Can I use the same soil mix for both broccoli and cauliflower seedlings?
Yes! Both thrive in well-draining, nutrient-rich soil with a pH of 6.0–7.0. A mix of 50% potting soil, 30% compost, and 20% perlite works well. Avoid heavy clay soil, which can cause root rot.
Why are my seedlings turning yellow or wilting?
Yellowing leaves often signal overwatering or nutrient deficiency. Wilting can mean underwatering or heat stress. Check soil moisture (top inch should dry slightly between waterings) and ensure seedlings get 6+ hours of sunlight daily. Yellow lower leaves are normal as they age.
Are there fast-growing alternatives to broccoli and cauliflower?
If you want quick harvests, try bok choy (30–40 days) or kale (40–60 days). For cruciferous flavor, radishes (25–30 days) or turnips (30–50 days) are great options. They germinate faster and tolerate cooler temps better than broccoli/cauliflower.
Wrapping up and next steps
Growing broccoli and cauliflower seedlings in just five days is totally doable with the right techniques! 🌱 Whether you’re a seasoned gardener or a curious beginner, these fast-germinating tips—like soaking seeds, using the right soil, and maintaining warmth—set you up for success.
With a little patience and care, you’ll be harvesting vibrant, nutrient-packed veggies in no time.
Ready to take the next step? Start your seedlings today and watch your garden thrive! For extra confidence, try experimenting with organic fertilizers or seedling heat mats to supercharge your growth. Happy planting! 🌿