
Flowers
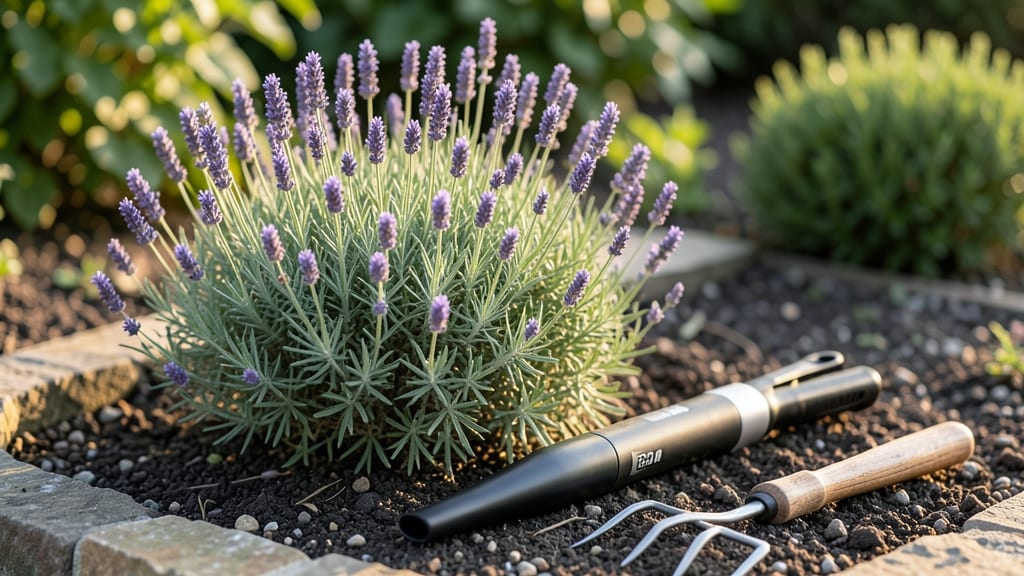
Cleaning flower beds isn’t just about tidying up—it’s the secret to vibrant blooms that last all season. 🌸 I’ve learned that skipping this step means battling weeds, poor drainage, and even fungal diseases before the first petal opens.
The best time to tackle it? Right after your last frost, when the soil is workable but weeds haven’t taken over yet.
You’ll need basic tools: a sturdy garden fork for turning soil, heavy-duty gloves to protect your hands, and a wheelbarrow for hauling debris. A sharp spade helps too—especially if you’re dealing with stubborn roots or compacted soil.
Pro tip: Lay down cardboard or landscape fabric afterward to smother new weeds while letting rain reach the roots.
Start by pulling weeds at the base (don’t leave fragments behind—they regrow!). Rake out old mulch, leaves, and stems, then fluff the soil with your fork to break up compaction.
This isn’t just about looks—loose soil drains better, reducing fungal issues and giving your plants room to thrive. Afterward, top with fresh mulch to keep moisture in and weeds out.
This process takes about 90 minutes for a 4’x8’ bed, but the payoff is immediate: healthier soil, fewer pests, and flowers that pop with color by early summer. The key is consistency—do this once a year, and your flower beds will feel like a fresh canvas every spring.
📚 In This Guide
- What you need
- Instructions
- Tips and common mistakes
- Wrapping up and next steps
What you need
- ● Garden gloves (1 pair) – Choose durable, breathable options (e.g., nitrile or leather) to protect your hands from thorns and sharp debris.
- ● Pruning shears (1 pair) – Opt for bypass pruners with sharp, stainless-steel blades (8–10 inches) for clean cuts.
- ● Garden rake (1 medium-sized) – A bow rake (4–6 teeth, 18–24 inches) works best for loosening soil and removing debris.
- ● Garden fork (1 sturdy) – A heavy-duty, 6–8-inch tine fork helps aerate compacted soil and remove weeds.
- ● Garden hose with adjustable nozzle – Essential for rinsing away dirt and debris (50+ feet recommended).
- ○ Wheelbarrow or large bucket – A 5–7 gallon capacity for hauling debris (optional but highly recommended!).
- ● Knee pads or cushion – Because spring cleaning shouldn’t mean sore knees!
- ● Weed torch – For tough, deep-rooted weeds (use cautiously near flammable materials!).
- ● Garden kneeler pad – Extra padding for comfort during long sessions.
- ● Soil tester kit – To check pH and nutrient levels before replanting.
- ● Compost or mulch – Ready to replenish nutrients after cleaning.
- ● Sunscreen & hat – Because spring sun sneaks up on you!
How to refresh flower beds for a fresh spring start
Here's the straightforward method I use every spring to wake up tired flower beds.
🪴 Step 1: Clear Out Debris and Dead Material
Start by pulling up any remaining dead annuals or frost-damaged perennials. Grab them at the base and tug gently—most will come out cleanly. For stubborn roots, use a small hand fork to loosen them first. This prevents disease spread from rotting plant matter.
Rake through the bed to collect fallen leaves, twigs, and last year's mulch. I use a stiff-bristled leaf rake to get into tight spaces between perennials. Pay special attention to areas where fungus gnats love to breed—those damp, hidden pockets of old mulch.
Once the bed looks completely cleared, give it a final sweep with a broom to catch any small debris. You'll notice how much brighter the bed looks without the old growth blocking light. This is your clean slate for the season.
✂️ Step 2: Prune Back Perennials and Shape Plants
Now's the time to cut back last year's growth on perennials. For most hardy perennials, I make clean cuts about 2-3 inches above the ground, but for grasses and ornamental plants, I leave some height for structure. Never cut into old wood—always look for fresh green growth at the base.
Use sharp pruners to make clean cuts at a 45-degree angle just above a leaf node. This encourages new growth from the right spot. If you're unsure where to cut, look for the thickest part of the stem—new shoots will emerge from there.
For shrubs and woody plants, remove any dead, crossing, or weak branches first. Then step back and shape the plant by cutting back overgrown branches by about one-third. You'll see how much more open and airy the plant looks immediately.
💧 Step 3: Refresh Soil and Mulch for Healthy Growth
After pruning, spread a 1-2 inch layer of fresh compost over the bed. Work it gently into the top 2-3 inches of soil with a garden fork or your hands. This adds nutrients without disturbing plant roots. I like to mix it in when the soil is slightly moist—it works in more easily.
Top with 2-3 inches of fresh mulch, keeping it 2-3 inches away from plant stems to prevent rot. I use shredded hardwood mulch because it breaks down slowly and improves soil structure over time. Water it in lightly to help settle everything.
Finally, give your plants a good drink of water to wake them up after all that work. You'll notice how much more vibrant everything looks after this refresh. The key is to do this when daytime temperatures are 50-70°F—cooler than that and plants may not respond as quickly.
Tips & tricks for perfect flower bed cleaning
Here's what I've learned after years of spring cleanups—and how to avoid the most common gardening mistakes.
Timing Secret: The best time to refresh your flower beds is when daytime temperatures are between 50-70°F. This range gives your plants enough warmth to respond quickly to the fresh soil and compost. If you do it too early in spring when nights are still chilly, your plants might not bounce back as vigorously. I always aim for late March or early April in my zone.
Tool Strategy: Invest in a small hand fork—it's worth every penny for stubborn roots. I use mine to gently loosen compacted soil around perennials before pulling them up. This prevents disturbing the roots of nearby plants and makes cleanup much easier. A stiff-bristled leaf rake is also essential for reaching between tight spaces where debris collects.
Pruning Insight: When shaping shrubs in Step 2, always cut back to a leaf node or bud. This ensures new growth emerges from the right spot, creating a fuller plant. I like to step back after pruning to check the shape—if it looks too sparse, I might add a few more cuts to create better structure. For grasses, leave some height to maintain their natural form and prevent them from looking too tidy.
Mulch Placement: Keep that 2-3 inch layer of mulch 2-3 inches away from plant stems to prevent rot. I use a small stick or ruler to measure this distance—it's worth the extra minute to do it right. Shredded hardwood mulch breaks down slowly and improves soil structure over time, but pine bark mulch works too if you prefer a different look.
Pro Tips for Cleaning Flower Beds
- Here's what I've learned after years of spring cleanups—and how to avoid the most common gardening mistakes.
- Timing Secret: The best time to refresh your flower beds is when daytime temperatures are between 50-70°F. This range...
- Tool Strategy: Invest in a small hand fork—it's worth every penny for stubborn roots. I use mine to gently loosen com...
Frequently asked questions
Got questions about keeping your flower beds fresh and thriving? Here are some of the most common ones—and their answers—to help you clean like a pro!
When is the best time to clean flower beds?
The ideal time is early spring, just as new growth begins, or in late fall after plants have died back. Avoid cleaning during extreme heat or cold, as it can stress plants. For perennial beds, timing matters less, but always remove dead foliage before new shoots emerge!
Should I remove all the old mulch before cleaning?
Not necessarily! If the mulch is still in good condition (no mold or excessive debris), you can rake it aside, clean underneath, and then spread it back. This saves time and retains soil moisture. Only replace mulch if it’s decomposed or contaminated.
What if I find pests or weeds while cleaning?
Don’t panic! Pull weeds by the roots to prevent regrowth, and dispose of them in the trash (not compost). For pests, use organic sprays like neem oil or introduce beneficial insects like ladybugs. A thorough clean-up reduces hiding spots, so consistency is key!
Can I clean flower beds in the rain?
Rain can actually help loosen soil, but it’s best to wait for dry weather to avoid muddy messes or compacted soil. If you must work in light rain, use a tarp to cover tools and materials. Just avoid heavy downpours—safety first!
How often should I clean my flower beds?
For annuals, clean every 2–3 months or as needed to remove spent blooms and debris. Perennials only need a deep clean 1–2 times a year (spring and fall). Regular light maintenance—like removing weeds—keeps beds looking polished without overworking the soil.
Wrapping up and next steps
Cleaning your flower beds doesn’t have to be a daunting task—just a few simple steps can transform your space into a vibrant, thriving garden! 🌸 By removing debris, refreshing the soil, and adding fresh mulch, you’re not only enhancing curb appeal but also giving your plants the best start for the season.
With the right tools and a little effort, your flower beds will bloom beautifully, making your outdoor space feel like a fresh, inviting retreat.
Ready to see the difference? Grab your gloves and get started—your garden (and future blooms) will thank you! For extra inspiration, consider planning a few new plants or flowers to add to your beds this spring.